To ensure that Nordfab Quick-Fit (QF) continues to be the world's fastest ducting system, we would like to provide a few tips to help your installation proceed quickly, smoothly and safely.
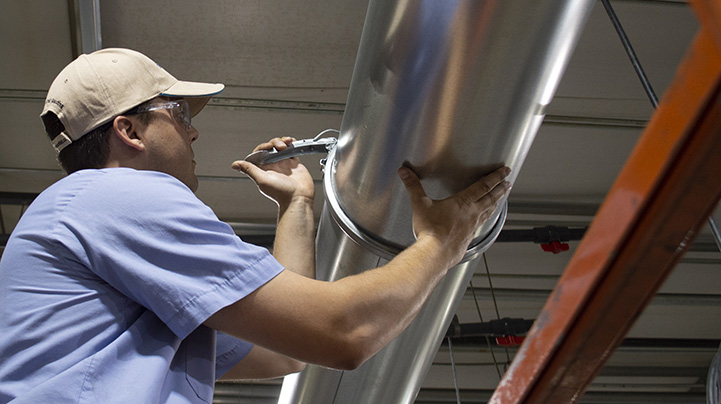
Always use appropriate personal protective equipment when installing QF ducting:
- Work gloves: sheet metal can be sharp and burrs may be present.
- Eye and hearing protection: wear appropriate protection whenever cutting ductwork.
- Safety helmet: helps prevent injury from falling parts or tools.
- Cutting device: whether you use a hacksaw, reciprocating saw, nibbler or another cutting method, it is important that the cut is clean and that the duct is not distorted into an oval shape during cutting. Follow all manufacturer safety guidelines for your cutting tool.
- File: use a file to ensure that cuts made to slip duct sections are clean and free from sharp edges.
- Scaffolding and fall-protection equipment: use appropriate equipment when working at height.
- Level: most duct runs should be level. However, for certain applications such as cement dust or oil mist extraction, it may be preferable to install runs at an angle so that material falling out of the airstream can drain from the duct.
- Plumb line: all vertical runs should be installed plumb.
Stage 1: make sure your shipment is complete and undamaged
Inspect all boxes for visible damage before signing the delivery receipt. Boxes should be secured to a pallet and should not be crushed, torn or otherwise damaged. If damage is found, either refuse the shipment or record the issue on the delivery receipt before signing. Failure to do so may make future claims extremely difficult to pursue.
Nordfab ships most orders Free On Board (FOB), meaning it is your responsibility to ensure that the materials received have not been damaged in transit and that the carrier has delivered all boxes in the shipment.
Before signing for delivery, ensure that all boxes are accounted for. The total number of boxes can be found on the delivery receipt presented by the driver. Record any discrepancies before signing.
Safety note: be aware of the sharp metal staples used to seal shipping boxes.
Stage 2: review the packing documents
Do not immediately open boxes and begin removing parts. At least one box in each shipment will contain Nordfab's Packing List. Locate these documents before opening any boxes, as they provide details of the contents of each box.
To minimise the risk of parts being lost or damaged on site, avoid opening boxes until their contents are required. Nordfab packs boxes to optimise shipping efficiency, not in the order in which the parts will be installed.
Stage 3: prepare to install your ducting
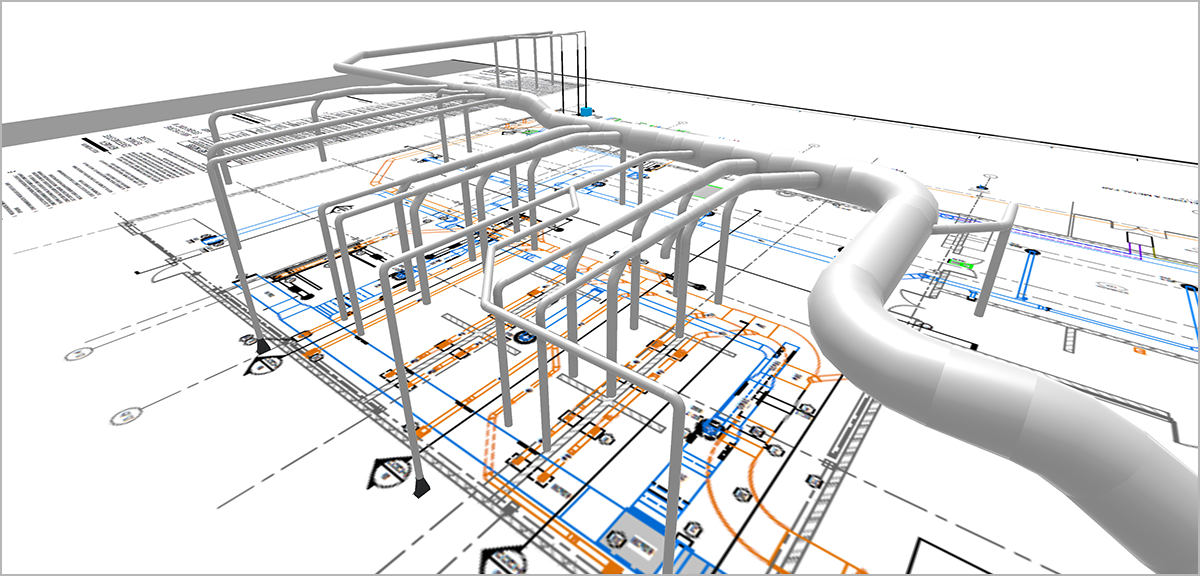
It is important for the installer to understand the layout planned by the system designer. Follow all local codes and regulations and consider the load-bearing capacity of structures to ensure that the ducting is adequately supported and that the building can safely carry the system.
If you do not have a clear understanding of the system layout or installation drawings, contact the system designer before beginning work.
Stage 4: laying out the duct
Begin by laying out the system on the floor beneath its intended installation location. Remember that components that connect together may not be packed in the same box. Completing this step can significantly reduce installation time once work begins.
Note: this is often the stage at which missing components are identified. If any parts are missing, contact your dealer immediately so that replacement components can be supplied and your layout can be verified against the original system design.
Stage 5: the slip duct
- Measure the distance to be spanned.
- Cut the duct – not the QF Slip Duct – approximately 100 mm shorter than the required span. Ensure that the cut is free from burrs and that the duct retains its circular shape.
- Insert the cut end of the QF duct into the Slip Duct. Clamp one end of the assembly into position. Ensure that the Slip Duct is downstream of the cut section.
- Slide the QF duct into the Slip Duct until the desired length is achieved.
- Slide the O-ring over the rolled edge of the Slip Duct so that it sits around the cut section of QF duct. Position it firmly against the rolled edge of the Slip Duct. The O-ring forms a seal and provides a rolled surface for the QF Clip to engage.
- Use a standard QF Clip to connect the rolled edge of the Slip Duct and the O-ring.
- Once installed, the assembly length can be adjusted by releasing the clip and changing the amount of duct inserted into the Slip Duct.
Safety note: to ensure a strong, safe and stable system, there must always be at least 100 mm of duct inserted into the Slip Duct.
Watch the video below for more information on installing a Slip Duct.
Stage 6: supporting your ductwork
Check with local authorities to ensure that duct supports comply with local regulations. It is your responsibility to ensure the safe support of all ducting.
When calculating loading requirements for ceilings and hangers, always assume that the ducting could become completely filled with the material being conveyed.
Stage 7: pre-stretch your clips
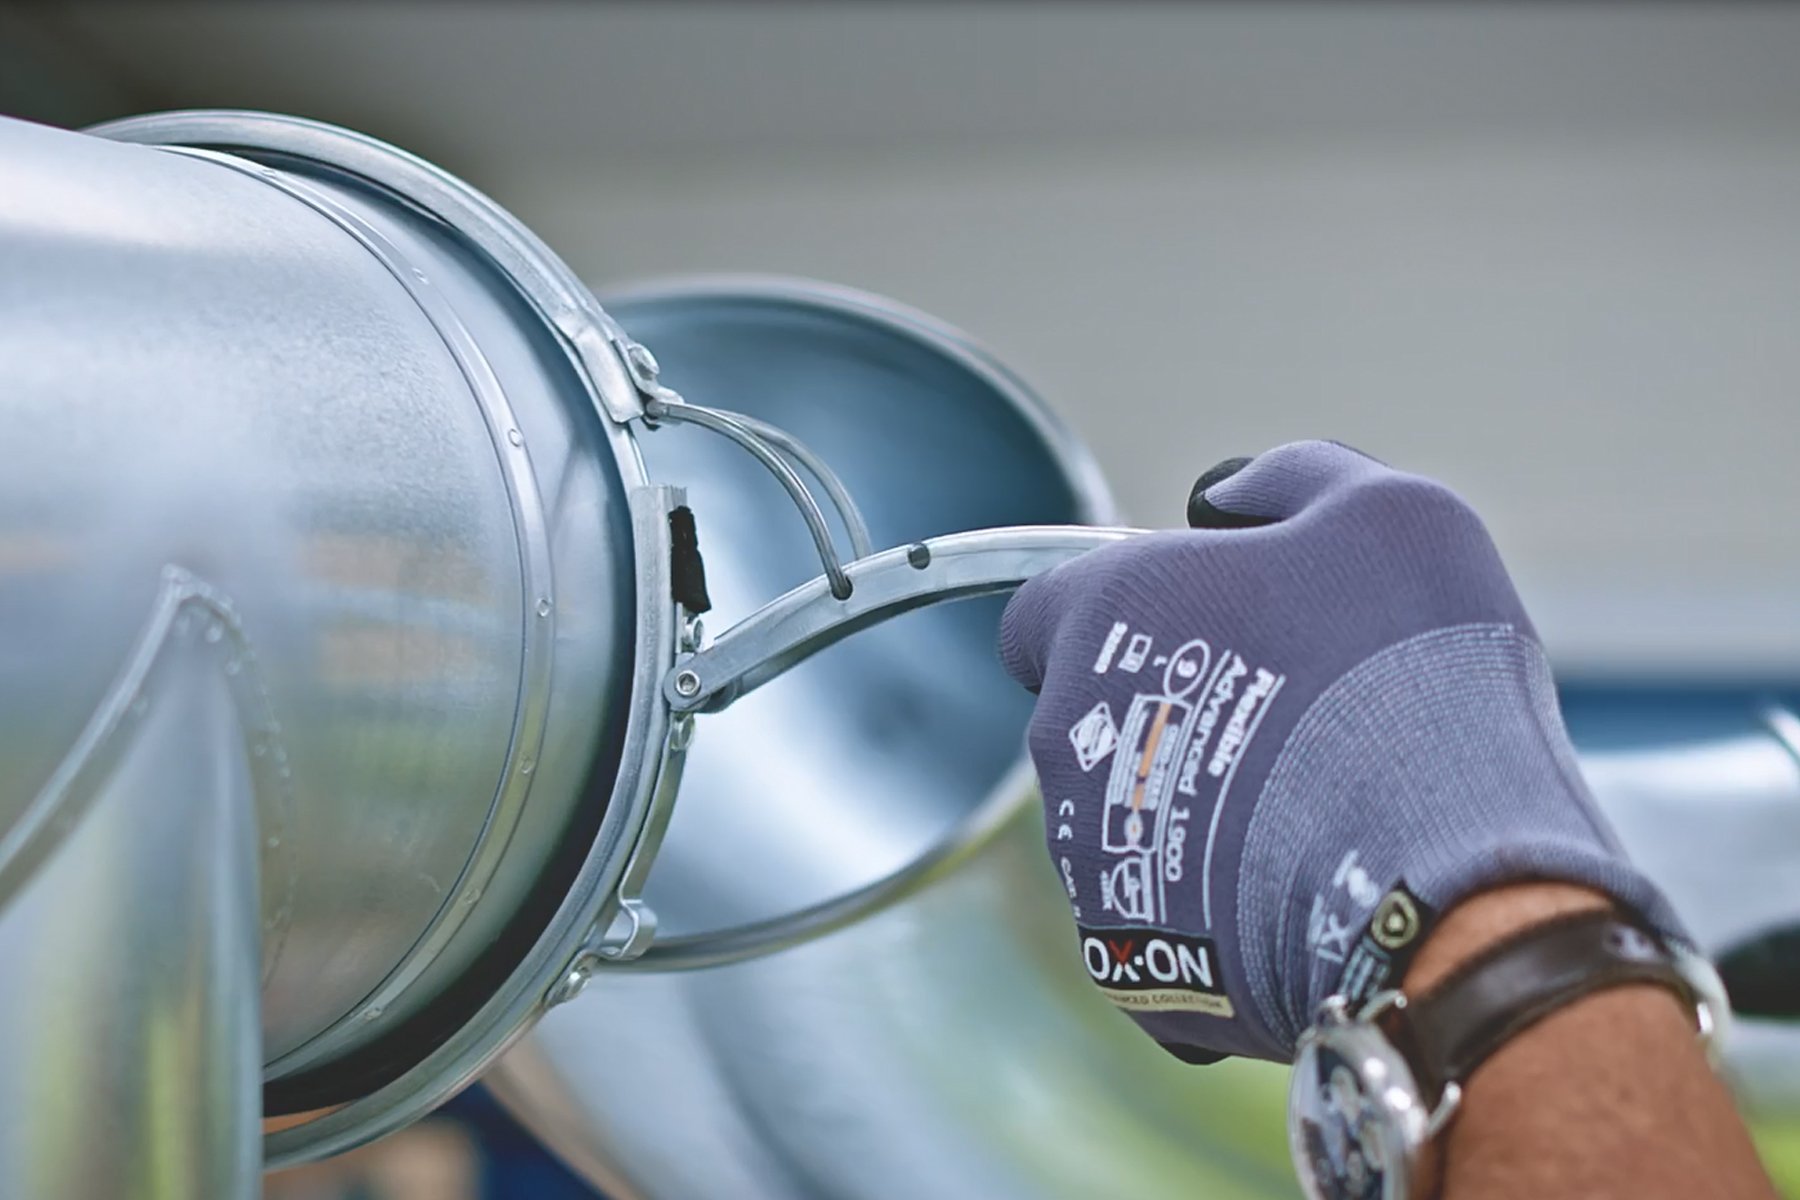
Nordfab QF Clips are designed to provide an airtight seal and therefore require a degree of force to close. Pre-stretching the clip around the rolled edge of a single section of duct can make it considerably easier to close when joining two sections together.
Stage 8: connect as many parts as possible on the ground
Closing clips at ground level is generally faster and safer than working from scaffolding. Many installers therefore connect two or three sections of ductwork together on the floor before lifting them into position.
Safety note: The ducting must always be properly supported.
It is unsafe to leave multiple sections cantilevered without adequate support. Each additional section places significant stress on clips and hangers, potentially resulting in clip or hanger failure.
Stage 9: install the cotter pins
After closing each clip, insert one of the supplied cotter pins into the designated hole as shown. This prevents the clip from opening unexpectedly.
Install the cotter pin immediately after closing the clip and exercise caution around any clips that have not yet been secured.Safety note: Although rare, unclipped pins can allow clips to spring open unexpectedly, which may cause duct sections to fall. In addition, clip handles on unsecured clips have been known to cause injury when they spring open unexpectedly.